Print-Ready File Guide for Qatar: Resolution, Colours, Bleed and File Formats
Many of the printing problems we see every day in Doha — washed-out colours, text cut off at the edge, pixelated images, fonts that change shape — aren't caused by the printing company at all. They're caused by the design file itself. A properly prepared file saves you time and money, and guarantees that what you saw on screen is what you get on paper or on the signboard. In this guide from Q Trend, we explain step by step how to prepare your files for printing like a professional — whether you're a business owner sending in a finished design or a designer working with clients across Qatar.
1. Start with the right size — before anything else
The most common mistake is designing artwork at a random size and then trying to scale it up or down later. Always start with the final required size of the printed piece:
- Business card: 9×5 cm or 8.5×5.5 cm, depending on the standard you follow.
- Flyer: A5 (14.8×21 cm) or A4 (21×29.7 cm).
- Folded brochure: design it flat at full open size, with the fold lines marked.
- Roll-up banner: usually 85×200 cm, keeping in mind that the bottom section (around 10–15 cm) disappears inside the base.
- Signage and banners: design at actual size, or at 1:10 scale with the resolution increased accordingly.
And if you're not sure which size suits your business, it's best to check with the printing company before you start designing, so you don't have to redo the work. It's also worth understanding the differences between production techniques in our article on digital printing versus offset printing, because the technique you choose affects how the file should be prepared.
2. Resolution: 300 DPI isn't an absolute rule
Resolution is measured against the final size — it isn't just an abstract number. A 300 DPI image at 5×5 cm drops to only 75 DPI if you enlarge it to 20×20 cm.
- Print items read up close (cards, menus, catalogues, envelopes): 300 DPI.
- Medium-sized signs and banners viewed from 2–5 metres: 100–150 DPI at actual size.
- Large signage and building facades viewed from a distance: 50–72 DPI at actual size is more than enough.
Be careful with images pulled from social media or WhatsApp — they're heavily compressed and come out distorted in print, even if they look sharp on your phone. Always use the original file straight from the camera or from a stock image library.
3. Colour mode: CMYK, not RGB
Screens display colour with light (RGB), while a printing press reproduces it with ink (CMYK). So set your file to CMYK from the very start, not at the last minute — converting late makes vivid colours look dull and flat.
Practical colour tips
- Black in small text: use K=100 only, to avoid fuzzy edges.
- Rich black for large backgrounds: for example C40 M30 Y30 K100 for greater depth.
- Critical brand colours (your logo colour): specify the Pantone code and mention it in the order notes.
- Don't judge colour on an uncalibrated screen; request a printed proof for large runs.
4. Bleed and safety margins
Mechanical cutting is never 100% precise — there's always a slight shift of a millimetre or two. So:
- Add 3 mm bleed on every side, and extend backgrounds and images into it.
- Leave an inner safety margin of 3–5 mm with no text or logos inside it.
- In bound files (catalogues, magazines), increase the inner margin at the spine so text doesn't disappear into the fold.
- For custom-cut work (die cut), supply the cutting path on a separate layer in a clearly defined spot colour.
5. Fonts: convert them to outlines
Arabic fonts in particular are very sensitive; if the font isn't installed on the printing company's machine, it will be substituted automatically and the diacritics and layout will break. The safe solution:
- Convert text to outlines (Create Outlines) before saving.
- Or embed the fonts inside the PDF file.
- Keep an editable version with live text for any future changes.
- Don't set type smaller than 6 pt for paper printing, so it stays legible.
6. Hairlines and fine detail
Strokes thinner than 0.25 pt can disappear completely in print, and very long gradients can show banding. Pay attention to finishes such as spot UV or gold foil as well: each finish needs its own separate black-and-white layer file showing exactly where it's applied. This is precisely how we work in production on premium business cards and full-colour folders and brochures for our clients in Doha.
7. File formats and how to send them
- PDF (Press Quality / PDF-X): the best option — it preserves the final layout along with bleed and crop marks.
- AI / EPS: ideal for logos, large signage and laser cutting (vector paths).
- PSD / TIFF: suitable for images and backgrounds, at the correct resolution and size.
- Avoid: low-quality JPGs, Word or PowerPoint files, and screenshots.
When sending, name the file clearly (company name + item type + size + quantity), state the paper or material and the finish you want, and attach a reference image of the intended final look if you have one. These details cut production time dramatically.
A quick pre-send checklist
- Final size is correct ✔
- Colour mode is CMYK ✔
- Images at 300 DPI (or the right resolution for large formats) ✔
- 3 mm bleed and an inner safety margin ✔
- Fonts outlined or embedded ✔
- Final proofread of all text, phone numbers and account details ✔
- Special finish layers kept separate ✔
The last and most important step is proofreading; one wrong digit in a phone number or a misspelled name means reprinting the entire run. Always have a second pair of eyes review the file before final approval.
Prepare your file with the Q Trend team
If you have no experience with pre-press settings, that's no problem — the Q Trend team in Doha will review your file free of charge, adjust the colours, bleed and resolution, and send you a proof before production, or design the whole piece from scratch if you prefer. We serve every city in Qatar with fast turnaround and consistent quality. Send your file now on WhatsApp to +974 7784 9090 and get a technical review and a quote within minutes.
Frequently Asked Questions
What resolution should my print files be?
Why do printed colours look different from what I see on my screen?
What is bleed, and how much do I need?
What's the best file format to send to the printing company?
Need printing or advertising services in Qatar?
Contact Q Trend today for a free quote on your project in Doha and across Qatar.
Related Articles
The Best Printing Company in Qatar: Your Complete Guide to Choosing the Right Printer
Laundry & Dry Cleaning Printing and Supplies in Qatar: Garment Bags, Order Tickets and Hanger Covers
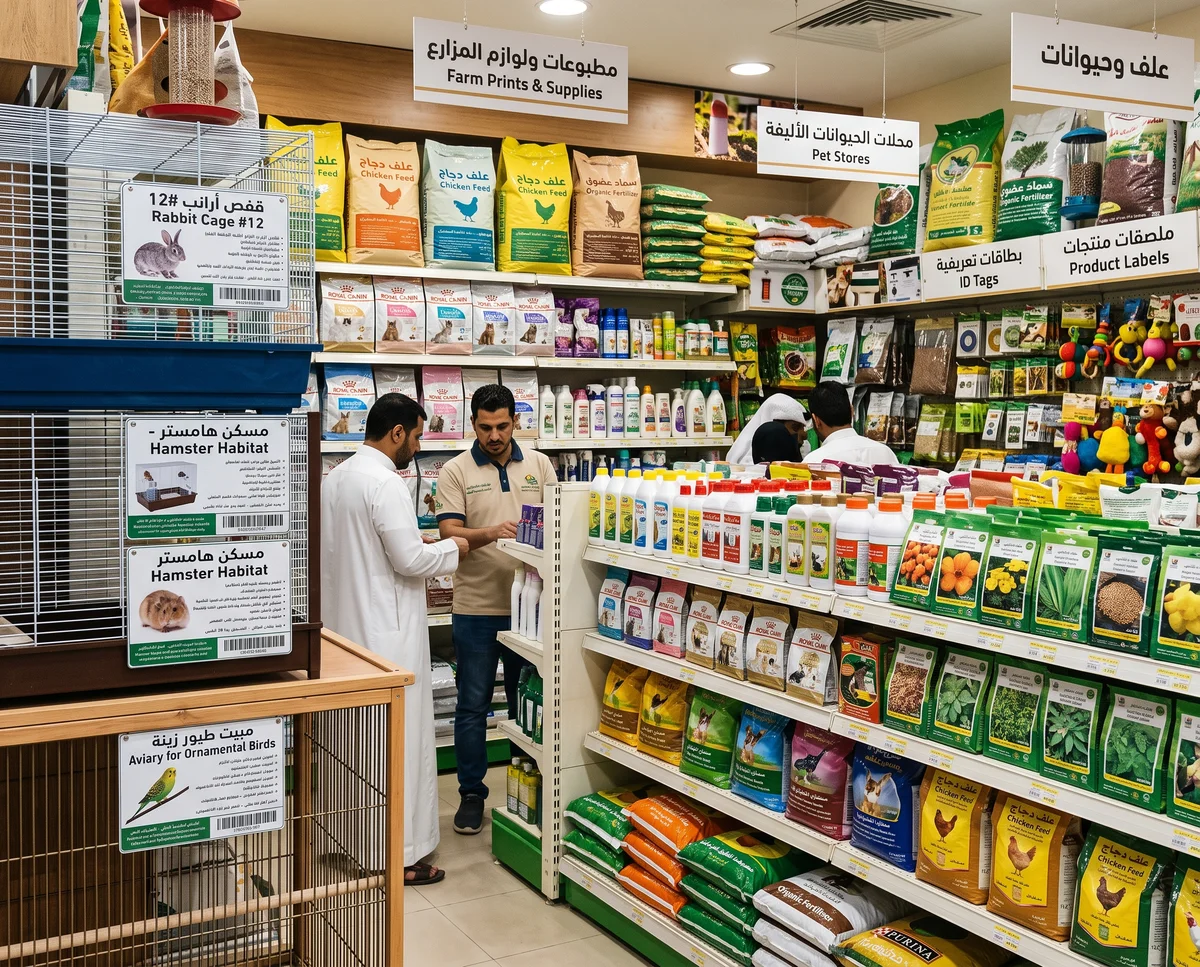
Printing & Supplies for Farms and Pet Shops in Qatar: From Product Labels to Cage Signs